
Integrated Wiki
A wiki is a collaborative space on the web. It is a common practice to use wikis to collect knowledge and share information.
Codeberg allows you to add a wiki to a repo for additional documentation.
The user in these examples is knut, the polar bear and its repository is foobar.
Activation and Permissions
To enable the wiki for a repository, visit the Settings page and activate Enable Repository Wiki in the Advanced Section. It will default to the built-in wiki which is described here, but you can add an URI to an external site the “Wiki” tab should link to.
Warning
Be aware that the wiki, once enabled, is accessible for everyone who hasreadaccess to your repository - on public repositories even anonymous guests can access the wiki.
The wiki is not a suitable place for storing private information or secrets (like passwords).
To edit the wiki write permission to the repository is required.
Wiki structure
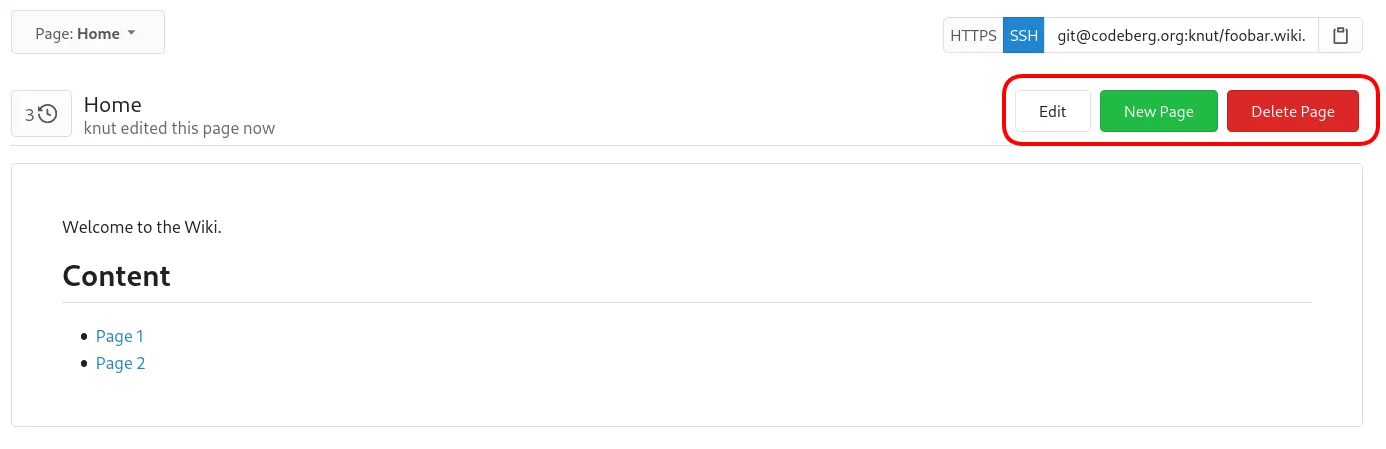
The wiki is essentially a separate Git repo in your repository with a predefined name in the form of <your-repository-name>.wiki.git.
It consists of Markdown files (file extension .md) and additional assets like images.
No further stylesheets are needed. The Markdown files are automatically rendered according to the selected Forgejo theme.
Adding content via web
After you have enabled the wiki you are prompted to create the initial page Home.md.
The web UI in your browser is currently limited to adding, updating, and deleting pages; you can’t manage assets like images this way.
Adding content via a local Git client
You can work with the wiki repo as you would with any other Git repo on Forgejo.
git clone git@codeberg.org:knut/foobar.wiki.git
cd foobar.wiki
nano Home.md # or your editor of choice
git commit -am "create Home page"
Editing locally allows you to use your favorite editor (preferably with Markdown syntax check and highlighting) and manage additional assets like images.
Adding images
You can add images to the root directory or a specific subfolder (like assets or images) using your local Git client.
A feasible workflow might look like this:
# create a subfolder for images
mkdir images
cd images
# copy the image into this folder
git add images/image.png
git commit -m "add image"
git push
Now, you can reference the image in Markdown, like this:
After saving your changes, the image should be visible.
In contrast to embedding external images, images in Git are only rendered after saving the wiki or Markdown file changes.
Adding a sidebar and a footer
To enhance the usability of your wiki you can add a custom sidebar and a footer that are shown on every page. The sidebar will be displayed to the right of the main content and the footer below.
To enable the sidebar, just add a file named _Sidebar.md to your wiki. For a footer the file must be named _Footer.md.
Both file types allow common Markdown syntax to adjust the presentation to your needs.
Very basic example for a sidebar:
- [[Home]]

### Content

- [Page 1](./Page-1/)

> knuts wiki
These files starting with
_are hidden, so in the web UI you need to manually browse for the files. E.g. for our user knut and his foobar repo:
https://codeberg.org/knut/foobar/wiki/_Sidebar